We now have implemented a concrete and maintainable software project, it’s finally time to prepare deployment to production by using good Continuous Integration practices and deploy our app on the AppStore !
Adding a Crash Report tool & Analytics
Adding a crash report tool is really important as it will help you removing the crashes your users encounter. Analytics, on the other other side, will help you to get a better understanding of your app users behaviour, you can then compare if it’s what you defined as expected in the D1 – Idea & Prototyping part.
You should then integrate in any of your serious projects before releasing it.
One useful tool for getting both analytics and crash reports is for exemple the Firebase related SDKs. The setup is well documented and you will have various tools to classify your users behaviors.
You should at least keep track of the following events (anonymized as you cannot include your users identity into analytics):
– onboarding start/end/skipped
– selected settings/configuration
– registration/login/logout events
– time spent in the main application screen
The most interesting questions you should ask yourself should be:
“Does my onboarding looks efficient?”
“what’s your retention (users still engaged) after 2 days ?”
“Are your users still engaged after 7 days? What are the components I can improve?”
Automate your deployments with Continuous Integration: CircleCI
There is plenty Continuous Integration tools available on the market, for mobile app deployment.
For Mobile apps, there is two interesting alternatives at the time:
– Bitrise (visual, simple to set up)
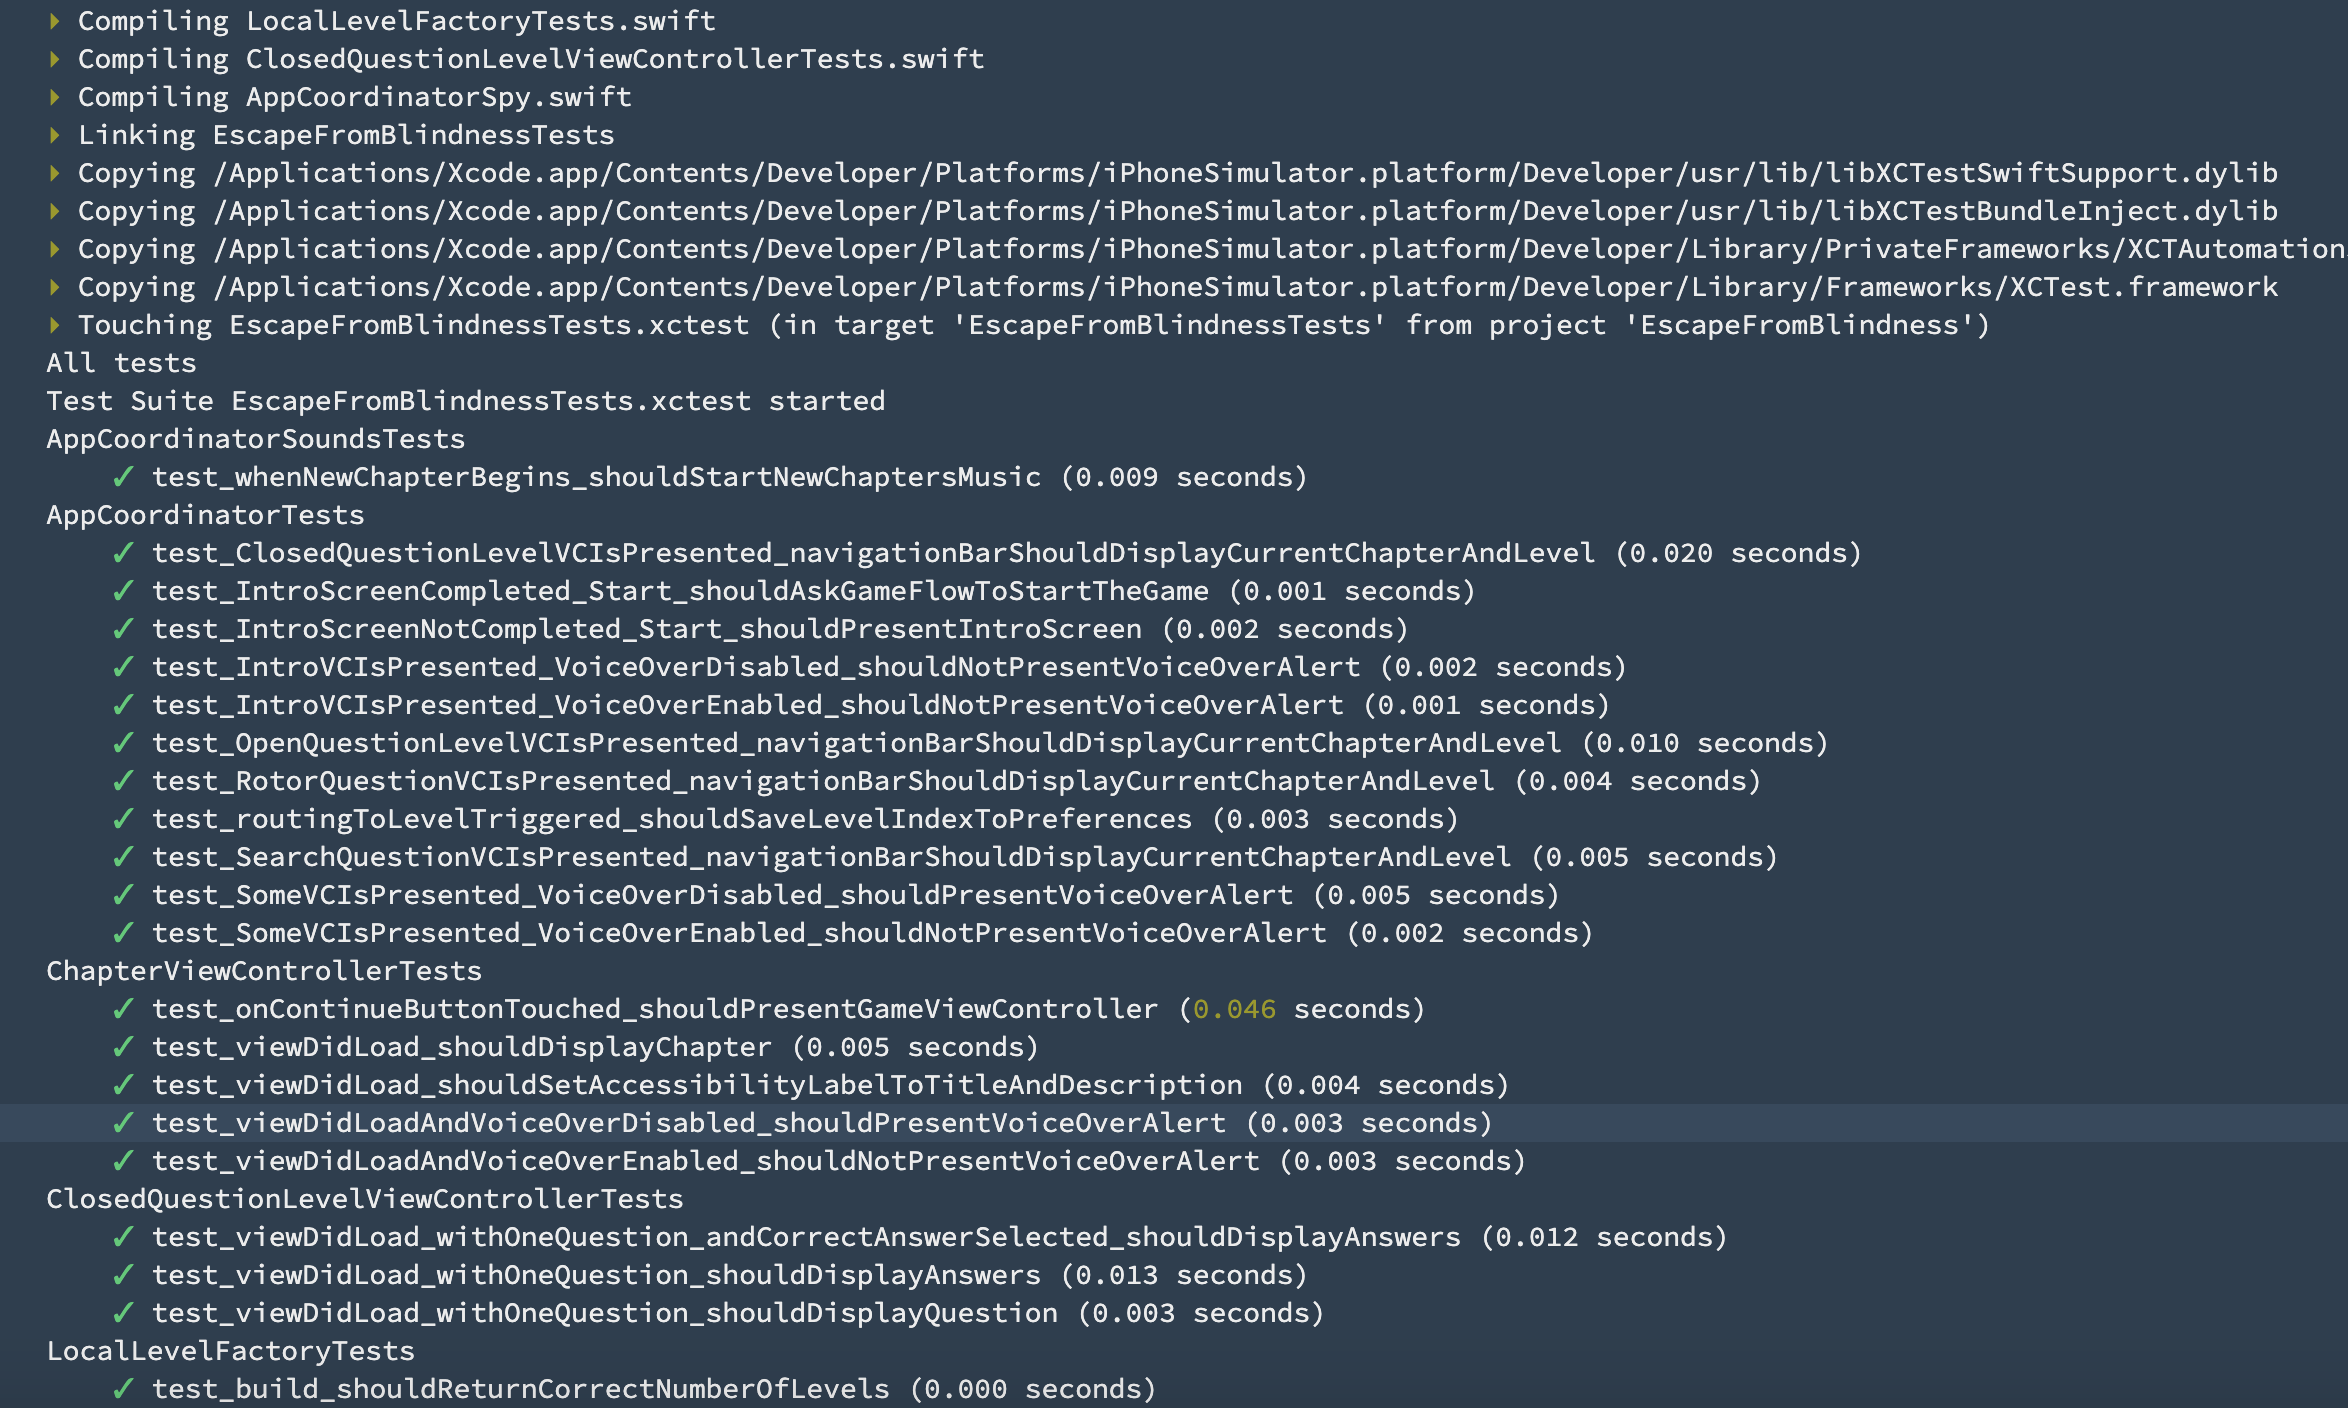
Logs from the Escape From Blindness project which allow the user to experience how blind users uses their smartphones through an Escape Room game
– CircleCI:
I only talked about these two but feel free to explore other solutions and find the one that suits your needs.
As other CI tools does, it will help you running unit tests, swiftlint and automate AppStore releases.
The free version comes with 3 seats but you cannot perform MacOS builds.
Automating deployments can help you saving a huge amount of time especially when maintaining the product.
All configuration is performed in a single file: .circleci/config.yml.
A simple workflow suitable for most projects can be:
- On each commit/pull request on production branch, compile test and deploy
- On each commit/pull request on development branch, compile and test
- Optional: Disable workflows on feature branches if you do not wish to spend too much credits
Automating releases using Fastlane
Fastane is one of the best tools to automate your App Store deployments, thus improving your productivity when running multiple projects. You can read more about its configuration in the fastlane blogpost.
You should definitely take some time to learn it as it is quite easy to setup and will help your releasing your next releases by managing your app metadata locally, automating screenshots and build releases.
The App Store Connect
Whether you choosed to upload your app with Fastlane or not, you simply have to upload a new build to the App Store Connect.
Here are some tips for the metadatas and review parts:
- Make sure you have read at least once the App Store Review Guidelines.
- Perform a soft launch, that is, you should first release in one country where the user acquisition cost is low, based on your analytics, you can then improve the critical parts of your app (the onboarding screens, the navigation, the core functionnalities) before releasing more widely.
- For the review description part, be as descriptive as possible using steps, attach at least a screenshot and ideally a video showing how to go through your app features. Mention the screenshot and the test account if there is one.
- For geolocalization apps, if the reviewer needs to be located in specific places, you should provide a demo mode where he can mooves freely and understand the overall concept of your app.
When submitting for review, you will be asked questions about export compliance, content rights, as this depend of your country you will have to search for legal answers for these topics. The question about the IDFA may seem complex but simply relates to whether or not you are displaying ads in your app, as IDFA stands for “identification for advertising”.
Based on the Ad framework you are using (e.g. AdMob, UnityAds) you can search which answers are correct ones.
The process to deploy an application on the Google Play store is quite similar so we won’t give too much detail here.
Well done!
After all this setup, you can take time to celebrate your new release !
I hope you enjoyed this insight about whats the overall process to release a simple app to the iOS apps market !
If you feel like you need to gain experience in the development part, you can find tutorials along with fully available Github repos in the Courses section.
In addition, you can find blogposts in the Dev Blog section.


